Welcome to this article on the art of positioning your hands and fingers correctly on the piano. Whether you are a beginner or already experienced, good positioning technique is essential for playing accurately and reducing the risk of injury.
In this section, I will give you tips on how to position your hands and fingers correctly on the piano keyboard. I will also offer advice on avoiding common mistakes and present practical exercises to improve your technique.
Let us start with the basics: hand position. It is important to place your hands so that they are comfortable and relaxed on the keyboard. They should be slightly curved, with the fingers gently rounded and the wrists straight. Avoid bending your wrists too much, as this can cause pain in the long term.
When it comes to finger position, it is important to place each finger firmly but lightly on the corresponding key. Your fingers should be curved and relaxed, and your wrist should make a slight movement.
By following these simple tips, you will be able to position your hands and fingers correctly on the piano. This will allow you to play accurately, smoothly, and comfortably. In the following sections, I will provide more details on how to position your hands and fingers, as well as practical exercises to improve your technique.
Where to Place Your Hands on the Piano
The first step in adopting a good hand position at the piano is to make sure your body is properly aligned. I therefore sit upright in front of the piano, with my feet flat on the floor. Your hands should be positioned in front of your shoulders, at a comfortable distance from the keyboard.
Next, I place my hands on the keyboard at a slight angle. The thumb of each hand should rest on the white key to the left of the first black key. The other fingers should be placed on the following white keys, alternating between the fingers of the left and right hands.
| Finger | Note | Key |
|---|---|---|
| Thumb | C | White key to the left of the first black key |
| Index finger | D | Next white key to the right of the first black key |
| Middle finger | E | Next white key to the right of the index finger’s key |
| Little finger | B | Next white key to the right of the middle finger’s key |
I keep my fingers slightly curved and pointing downward to make movement easier. The pressure applied to the keys should be firm but not excessive.

It is important to note that hand position may vary depending on the pieces being played, the register, and the style of music. However, the basic principles described above remain the same.
Where to Place Your Fingers on the Piano
It is important to know where to place your fingers on the piano so that you can maintain good posture and play accurately. When you are seated at the piano, begin by placing your hands in front of you, palms facing downward, with your fingers slightly curved. The fingers of your right hand should rest on the white keys to the right of the group of two black keys, while those of your left hand should rest on the white keys to the left of that same group.
It is also important to place the thumb of each hand on the first white key to the right and left, respectively, of the group of two black keys. The other fingers should be placed on the adjacent white keys. When playing notes on the black keys, use your fingers in a way that prevents your hands or fingers from crossing.
Remember that each finger has a specific function. The thumb is the shortest and strongest finger, making it ideal for playing low notes. The index finger is the longest finger and is used to play high notes. The middle, ring, and little fingers are intermediate and are used to play notes between the low and high notes.

There are a few common finger-positioning mistakes to avoid. The first is placing your fingers too flat on the keys, as this can cause fatigue and pain in your fingers. The second is lifting your fingers too high above the keys, as this can slow down your playing and make transitions between notes difficult.
By following these tips, you will be able to find the best position for your fingers on the piano and play efficiently and accurately.
Tips for Positioning Your Hands and Fingers on the Piano
Once you understand where to place your hands and fingers on the piano, it is important to consider a few additional tips to improve your playing technique. Here are some suggestions to help you position your hands and fingers correctly on the keyboard:
- Relax your shoulders: before playing, make sure your shoulders are relaxed and that you are not tensing up. Excessive tension can limit your ability to play accurately and smoothly.
- Keep your fingers curved: your fingers should be slightly curved to allow your hands to rest properly on the piano keys. Avoid spreading or stiffening them, as this can impair the accuracy of your playing.
- Keep your wrists level with the keys: your wrists should remain level with the piano keys, neither too high nor too low. This will improve the coordination of your hand and finger movements.
By keeping these tips in mind, you can improve your piano playing and avoid potential injuries. Remember to practice regularly to strengthen your playing technique.
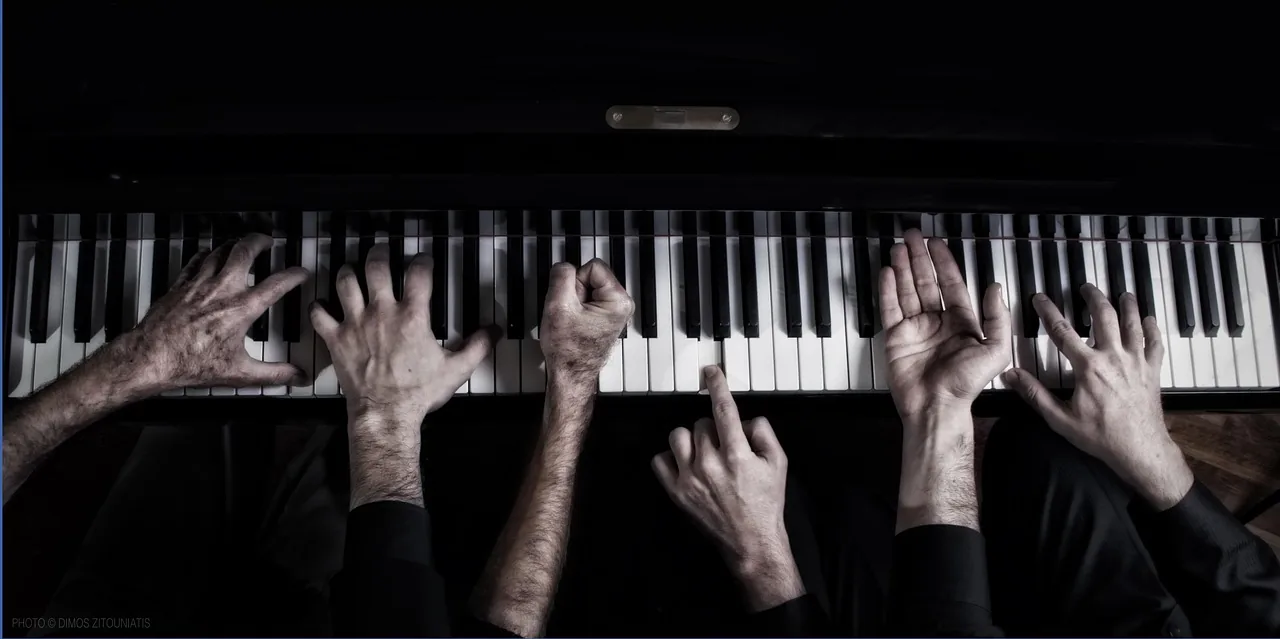
Where to Place Your Hands and Fingers on the Piano
In this section, I will show you a few exercises to improve the position of your hands and fingers on the piano. Before you begin, make sure you adopt good posture by sitting with your feet flat on the floor, your shoulders relaxed, and your arms slightly bent.
To begin, place your hands on the keyboard with your fingers properly aligned over the keys. Be sure to keep your fingers slightly curved to avoid tension. A good technique is to place your thumbs on the white keys adjacent to the black keys.
Next, try playing scales or arpeggios using only fingers 1 and 2 of each hand. Make slow, controlled movements to ensure that you are positioning your fingers correctly on the keys.
Also try playing simple chords using fingers 1, 3, and 5 of your right hand and fingers 1, 2, and 5 of your left hand. Once again, make sure your fingers are positioned correctly on the keys and maintain a relaxed posture.
Finally, practice legato technique by playing sequences of adjacent notes with different fingerings. Try to connect each note smoothly to the next by maintaining continuous pressure on the keys.
By practicing these exercises regularly, you will improve the position of your hands and fingers on the piano and play more smoothly and accurately.

Hand and Finger Posture at the Piano
When I play the piano, I constantly pay attention to my posture. The position of my hands and fingers is essential for playing accurately and smoothly without pain. With this in mind, here are a few tips to help you maintain good hand and finger posture at the piano.
| Tip | Description |
|---|---|
| 1. Keep your wrists raised | Make sure your wrists are never lowered or twisted. Keep them straight and slightly raised to avoid any tension or pain. |
| 2. Use the correct part of your fingers | Use the fleshy pads of your fingers to press the keys. Avoid bending your fingers too much or striking the keys with your fingernails. |
| 3. Keep your fingers close to the keys | Try to keep your fingers close to the keys while playing and avoid excessive movement. This will help improve accuracy and speed. |
Another important aspect of hand and finger posture at the piano is the position of your arms. Make sure your arms are relaxed and hang naturally alongside your body. Avoid raising your shoulders or extending your arms while playing.
Finally, remember to take regular breaks to prevent fatigue and injury. Use these breaks to stretch your hands and arms with gentle, slow movements to release any tension.

With these simple yet effective tips, you will be able to maintain healthy, optimal posture while playing the piano. Put them into practice now, and you will notice a significant improvement in your playing technique and comfort.
Mistakes to Avoid When Positioning Your Hands and Fingers on the Piano
It is essential to avoid certain common mistakes when positioning your hands and fingers on the piano. Doing so can help you improve your playing technique and prevent injuries.
Do not curl your fingers: it is important to avoid curling your fingers excessively. This can impair your accuracy and create tension in the tendons.
Do not lift your fingers too high: when playing, avoid lifting your fingers too high. This can impair the fluidity of your playing and prevent you from playing more complex pieces.
Do not clench your fingers: it is important to remember not to clench your fingers. This can cause tension and pain in your fingers and hands.
Do not stretch your fingers: avoid stretching your fingers while playing. This can cause unnecessary tension and prevent you from playing smoothly.
Do not tilt your wrists: make sure your wrists are not tilted when positioning your hands and fingers on the piano. This can cause pain and unnecessary tension.
By avoiding these common mistakes, you can improve the position of your hands and fingers on the piano and play more effectively.

Conclusion
In summary, the position of your hands and fingers on the piano is a key factor in improving your playing technique. By positioning your hands correctly on the keyboard and adopting good posture, you can play more smoothly and accurately.
The tips and advice presented in this article will help readers find the best position for their hands and fingers. By regularly practicing the recommended exercises, they can improve their coordination and dexterity.
Practice Regularly to Improve Your Playing
It is important to remember that positioning your hands and fingers correctly on the piano is a skill acquired through practice. Remember to take regular breaks to prevent fatigue and injury.
By applying the advice given in this article and practicing regularly, you can improve your posture and playing technique, allowing you to fully enjoy your piano-playing experience.



0 Comments