Setting up a digital piano with the right software opens up new musical possibilities. Whether you want to record, edit, or learn, a successful installation ensures a smooth experience.
Yamaha models such as the Clavinova and Arius require specific drivers. A physical USB or MIDI connection is essential, followed by downloading the drivers from the official website.
The customizable settings in digital audio workstations (DAWs) help optimize their use. Adjust the settings to suit your needs and achieve professional results.
Introduction
Connecting your keyboard to a computer opens up a world of creativity. This connection lets you record, edit, and refine your compositions with unmatched precision.
- Multitrack recording: capture each note separately for a custom mix.
- Intuitive correction: adjust the tempo or tone of a piece after playing it.
- Interactive learning: use educational apps to improve quickly.
Music then becomes child’s play. Digital audio workstations (DAWs), such as Cubase or Logic Pro, integrate seamlessly with your setup.
Your instrument becomes the heart of a home studio. There is no need for expensive equipment: a simple USB cable is enough.
Installation requirements
Certain technical requirements are essential for an optimal setup. Check these items before connecting your instrument to the computer to avoid common errors.
Required equipment
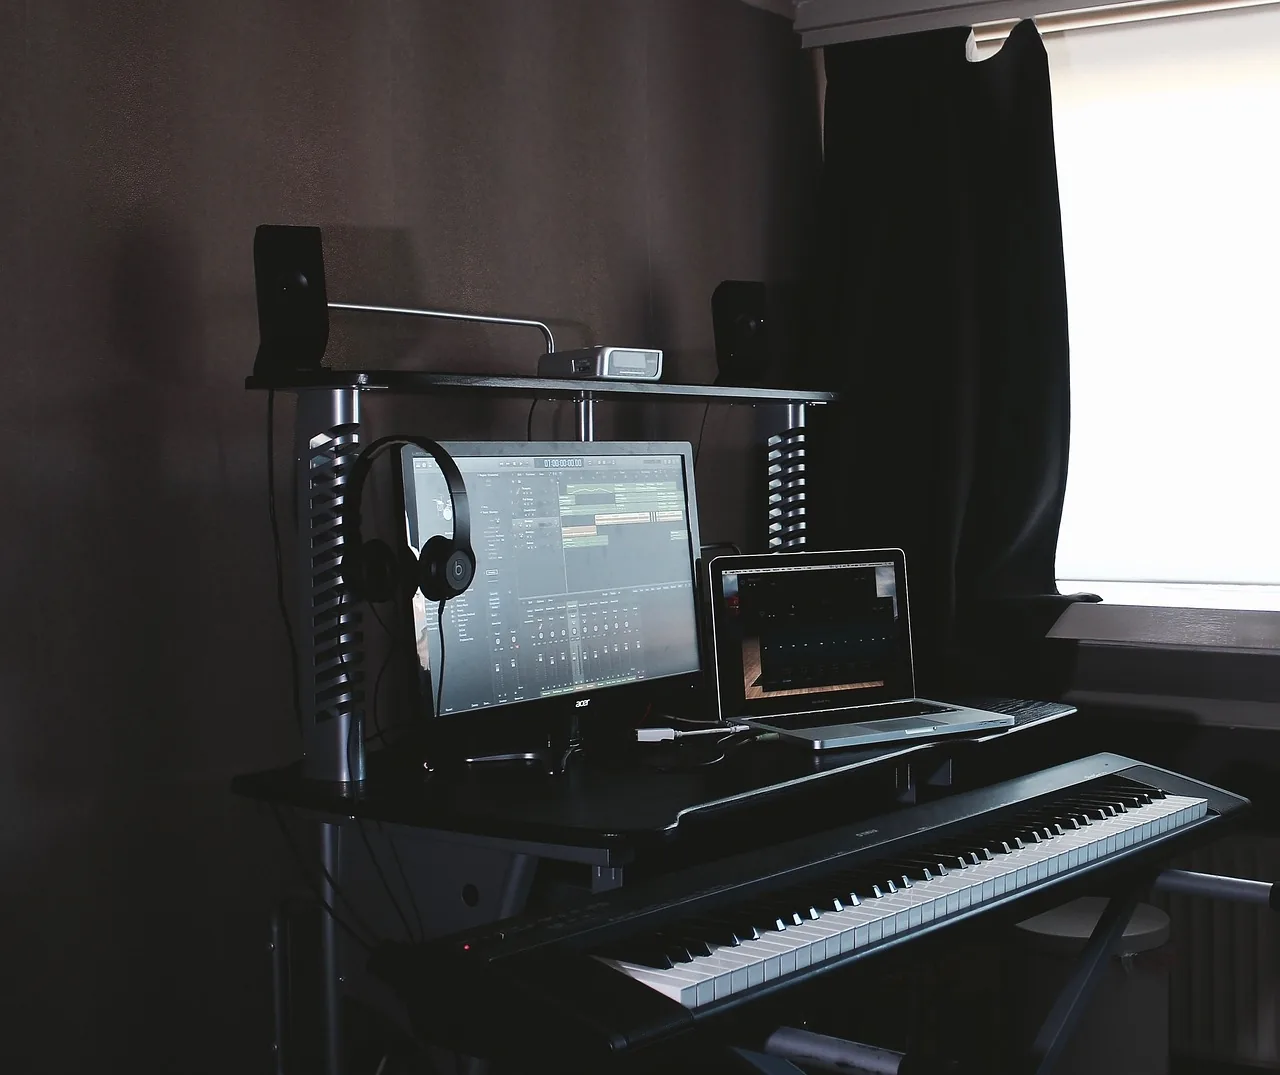
Your cable requirements depend on your setup. A USB-A-to-B cable, or a USB-C-to-B cable for newer Macs, is often required. For wireless connections, check Bluetooth MIDI compatibility.
- Have additional adapters (Lightning or USB-C) available if necessary.
- Check the port type on your computer and instrument.
Digital piano compatibility
Yamaha digital pianos, such as the Clavinova CLP-700 series and later or the Arius YDP-145 and later, are compatible. Models released before 2018 may require specific drivers.
Identify your instrument’s system version in the settings menu. A USB-to-Host connection is preferable to five-pin MIDI for reducing latency.
Downloading Yamaha software
Download the latest drivers from the official website. Select your model and operating system (Windows or Mac) to obtain suitable software.
“Regular updates improve stability and functionality.”
Avoid third-party sources to keep your system secure.
Choosing a connection method
USB, MIDI, or Bluetooth: each method has advantages and limitations. Depending on your equipment and needs, one may be better suited to providing a stable, responsive connection.
USB connection (A/B or C/B cable)
A USB cable is the simplest solution. Use a USB-A-to-B model for conventional computers or a USB-C-to-B model for newer Macs.
- Minimal latency (5 to 10 ms) is ideal for recording.
- It offers universal compatibility with DAWs such as Cubase.
- Example: the reliable and affordable Amazon Basics USB 2.0 A/B cable.
Check your computer’s port type before purchasing. A direct connection eliminates the need for intermediate interfaces.
MIDI connection (dedicated interface)
Models without a USB port require a MIDI interface. Adapters such as the iConnectivity MIO convert the five-pin MIDI signal into a USB signal for a computer.
“High-end interfaces reduce noise and improve accuracy.”
Configure the iRig MIDI 2 by following these steps: connect it, select the driver, and verify it in the DAW.
Bluetooth connection (wireless)
A wireless connection provides excellent freedom of movement but has higher latency (15 to 30 ms). The Yamaha MD-BT01 adapter provides a Bluetooth MIDI connection.
- This solution is ideal for mobile devices (iOS and Android), but check their compatibility.
- Case study: a P-515 connected to an iPad through Lightning works perfectly.
Be mindful of potential interference in crowded environments.
For more information, read this complete guide to connection types.
Steps for connecting your piano to a computer
A successful connection between your instrument and computer depends on following precise steps. Every stage, from the physical connection to the software settings, affects the quality of your musical experience.

Physical connection (USB/MIDI)
The physical connection begins with choosing the correct cable. For a USB connection, use a model that matches your port (A/B or C/B). Newer Yamaha pianos often have a dedicated USB-to-Host port.
For MIDI interfaces, connect the five-pin cable to an external interface. Check that the indicator lights turn on to confirm that it is receiving power.
Configuring audio settings
Install the Yamaha Steinberg USB drivers from the official website. These drivers optimize communication between the instrument and the computer.
- Set the buffer size in your DAW to 256–512 samples to minimize latency.
- Use ASIO4ALL to obtain a stable audio stream on Windows.
“A buffer size that is too small can cause audio crackling. Test different values to find the right balance.”
Checking whether the piano is detected
Open your DAW and check whether the MIDI device is detected. Tools such as MIDI Monitor display transmitted data in real time.
Test the connection by playing a note. If MIDI activity appears, your setup is operational. If there is a conflict on Windows, update the drivers in Device Manager.
Installing Yamaha Smart Pianist
The Yamaha Smart Pianist app turns your instrument into an interactive studio. It provides access to sound banks, lets you customize settings, and even offers tailored tutorials.
Downloading from the Yamaha website
Go to the official Yamaha website’s download section. Select your keyboard model and operating system (Windows, Mac, iOS, or Android).
- Check compatibility: some models, such as Clavinova CSP pianos, have exclusive features.
- Avoid third-party sources to ensure that the files are secure.
Installation on Windows or Mac
Run the executable file after the download. Follow the on-screen instructions:
- Accept the agreement’s terms.
- Choose the installation location.
- Restart the computer if necessary.
“For a smooth installation, close all unnecessary programs before starting.”
Initial app setup
Open Smart Pianist and connect your instrument through Bluetooth or USB. App setup includes:
- Bluetooth pairing (tap “Connect” in the settings).
- Creating profiles (student or professional).
- Synchronizing with your Yamaha Music account.
If an error occurs, such as error code 45, check the drivers or reinstall the software.
Connecting to a mobile device (iOS/Android)
Mobile devices offer unmatched flexibility for controlling your instrument remotely. Whether you want to make spontaneous recordings or quickly adjust settings, this connection turns your smartphone into a control console.
Required adapters
The cable you need depends on your iOS device or Android device. For an iPhone, the official Lightning-to-USB 3 Camera Adapter ensures stable transmission.
On Android, use a USB-C-to-B OTG cable. Samsung Galaxy models often require an additional adapter for optimal compatibility.
- Original adapters provide greater stability than third-party versions and reduce data loss.
- Enable OTG mode in the system settings on Android devices.
- For older models, use a micro-USB converter.
Setup with Smart Pianist
The app automatically recognizes compatible Android devices and iOS devices. After Bluetooth pairing, adjust the following settings:
- Select your piano from the device list.
- Set the latency to 128–256 samples for live performances.
- Enable low-power mode if necessary.
“Users of an iPhone 14 Pro with a YDP-165 report latency below 8 ms when using the correct adapter.”
In GarageBand, reduce the buffer size to 64 for demanding recordings. This tip minimizes timing discrepancies during fast passages.
Using advanced features
Your instrument contains little-known options that can turn every session into a unique experience. Learn how to use its advanced settings to enrich your musical practice.
Customizing the acoustics with Piano Room
The Piano Room feature recreates the atmosphere of the finest concert halls. Choose from 10 different environments, including the legendary Vienna Hall.
- Change the reverb in real time.
- Adjust how far the virtual grand piano lid is opened.
- Save your favorite configurations with a QR code.
These customized sounds integrate seamlessly with sostenuto pedals to provide expressive nuances. It is a genuine breakthrough for studio recordings.
Mastering Layer/Split mode
Combine two distinct sounds to create original textures. Layer/Split mode offers endless possibilities:
- Layer piano and strings to create moving ballads.
- Split the keyboard for teaching, with bass on the left and melody on the right.
- Activate Split mode instantly with a dedicated shortcut.
“The CLP-785’s library of 128 voices enables unprecedented combinations.”
Intelligent rhythmic accompaniments
Rhythmic accompaniments automatically adapt to your playing. Synchronize them with the built-in metronome for effective practice.
- 12 preset styles (jazz, pop, classical).
- Tempo control with a simple swipe.
- Seamless integration with external DAWs.
To explore these features further, read our detailed Smart Pianist guide.
Troubleshooting common problems
Technical problems can occur even after a correct installation. Here is how to identify and resolve the most common issues.
Piano not detected
If your instrument does not appear in the software, start by checking the USB port. Reconnect the cable and try another port if necessary.
- Open Device Manager on Windows or Audio MIDI Setup on Mac.
- Look for yellow error icons.
- Update the drivers manually if necessary.
“Eighty percent of detection problems are caused by faulty cables or damaged ports.”
Audio latency problems
A delay between playing and hearing the sound makes the experience uncomfortable. To reduce latency:
- Increase the buffer size to 512 samples.
- Close unnecessary background applications.
- Use a dedicated USB cable without a hub.
On Mac, grant MIDI access permissions under System Preferences > Security.
Driver updates
Driver updates often fix critical bugs. Always download the latest version from the Yamaha website.
- The Yamaha USB-MIDI Driver utility includes a diagnostic tool.
- If an update fails, restore a previous working version.
- Temporarily disable your antivirus during installation.
For Bluetooth connections, move away devices that may cause interference, such as Wi-Fi routers and phones.
Software alternatives for Yamaha pianos
Discover complementary solutions that help you make full use of your instrument. These tools turn your musical practice into an interactive, professional experience.
Learning apps (Flowkey, Skoove)
Learning apps such as Flowkey and Skoove provide adaptive lessons. They analyze your playing in real time through the MIDI connection.
- Flowkey (€19.99 per month): a seven-day free trial with access to 1,500 pieces.
- Skoove: a progressive method with rhythmic-error recognition.
- Comparison: Piano Marvel excels at music theory, while Simply Piano emphasizes enjoyment.
“Bidirectional MIDI integration provides instant corrections while you learn.”
Compatible DAWs (Cubase, Logic Pro)
Compatible DAWs make full use of your instrument’s MIDI capabilities. Cubase AI is included free with certain Yamaha models.
- Quick setup in Ableton Live: map the sound layers.
- Use Ivory II VST instruments for realistic virtual pianos.
- Optimized workflow in Logic Pro: simplified multitrack recording.
Sustain pedals become assignable MIDI controllers. This feature opens up unexpected creative possibilities.
Conclusion
Mastering the connection between your digital piano and computer unlocks its full creative potential. A successful installation ensures smooth recordings and precise settings.
For the best experience:
- Use certified cables and official drivers.
- Optimize the latency settings in your DAW
- Regularly update the Yamaha
.
software
.
This synergy opens up limitless musical possibilities. Share your feedback to enrich the community!
FAQ
A USB-A-to-B or USB-C-to-B cable is required, depending on the available ports. Newer keyboards often require a USB-C cable.
Check the official list on the Yamaha website. Clavinova pianos and certain P-series models are generally supported.
Yes, a Lightning-to-USB adapter (Apple Camera Connection Kit) can connect the iOS device to your instrument.
Check the drivers and cable connection, then select the correct MIDI device in the audio settings.
Some newer models support Bluetooth MIDI, but a dedicated interface may be required to reduce latency.
Smart Pianist (iOS and Android) is optimized for Yamaha. Solutions such as Flowkey and GarageBand also offer compatible features.
Use an ASIO driver on Windows or configure a smaller buffer size in your music software.
Yes, in Smart Pianist’s Piano Room tab, you can adjust the reverb, equalizers, and sound types.


0 Comments